Setting Up Claude Code in Visual Studio Code
A quick guide to getting Claude’s powerful coding agent running locally in VS Code
Step 1: Create and Subscribe to a Claude Account
First, head over to claude.ai and create a personal account if you don’t already have one.
For access to Claude Code features, you’ll need a paid subscription. The current plan that unlocks this functionality is the $100/month tier (as of late 2025). Subscribe through your account settings.
Step 2: Install Claude Code
Open your terminal and run the official installer script:
curl -fsSL https://claude.ai/install.sh | bashThis will download and set up the Claude Code CLI tool on your machine.
Step 3: Open Your Project in VS Code
Navigate to the folder containing your project (e.g., a GitHub repo you’ve cloned locally) and open it in Visual Studio Code.
Step 4: Launch Claude Code
In VS Code, open a new terminal (Terminal → New Terminal) and simply type:
claudeThe first time you run it, Claude will prompt you to log in with your Claude account credentials. Follow the on-screen instructions to authenticate.
Once logged in, Claude Code is ready to help you refactor, debug, add features, and more—directly within your codebase.
Optional: Skip Permission Prompts
By default, Claude will ask for confirmation before making changes to your files. If you trust the model and want a faster workflow, you can skip these prompts by running:
claude --dangerously-skip-permissionsUse this flag with caution—always review changes in your git diff afterward!
Screenshots
Here’s what the process looks like in action:
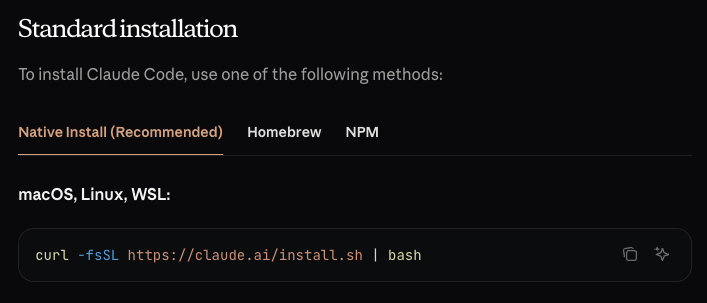
1. Running the native install script (recommended method)
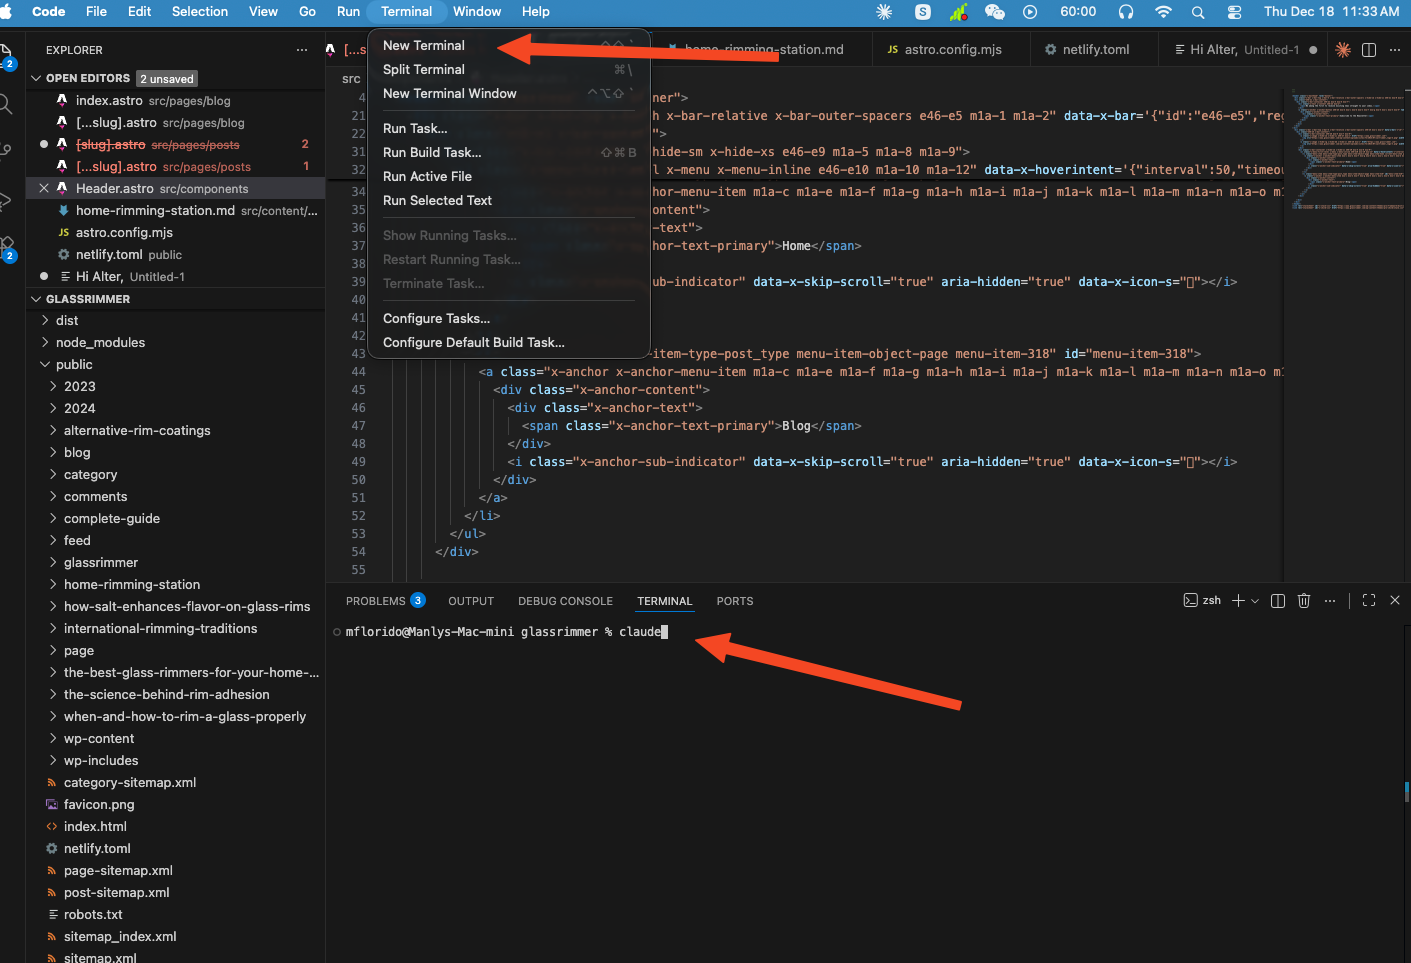
2. Opening a new terminal and starting Claude in your project folder
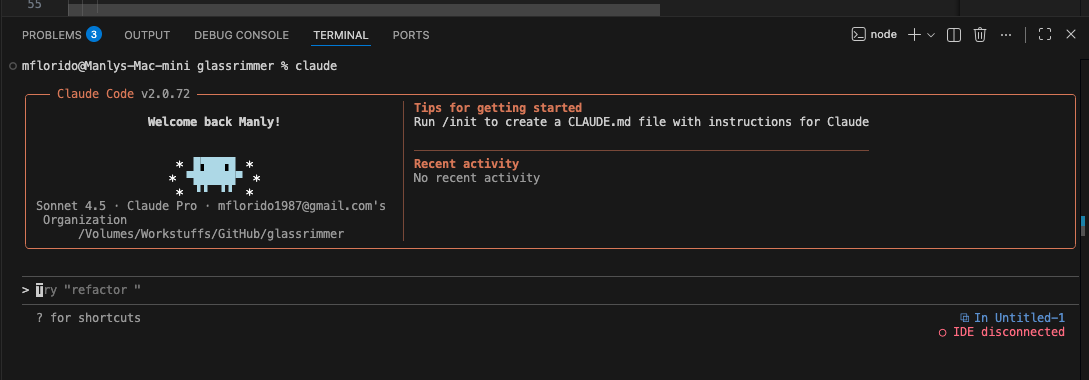
3. Claude Code running and ready to assist
Related AI Coding Environments
For a different but complementary approach focused on mobile development (especially iOS with SwiftUI simulator integration), see our guide to Mobile App Development with Codex (OpenAI), including the Build iOS Apps plugin and agentic workflows.
For an open-source multi-provider coding agent some builders use with Kimi (installable via Codex on a Mac Mini), see OpenCode + Kimi K3.
Comments
Approved comments appear below. Log in once with GFAVIP — it applies across the whole site. GFAVIP login
View comments archive